Three steps
- 1
Bring a picture
Drop, paste or choose any picture: a photo, artwork, a logo you are allowed to use, or an animated GIF, APNG or WebP.
- 2
Choose the part you like
The picture appears on the back of your cape right away. Drag it, zoom in, or show the whole picture. The 3D preview updates as you go.
- 3
Name it and publish
Give your cape a name and publish it. Animations are processed for a moment; you can leave the page open while that happens.
Prefer to draw it yourself?
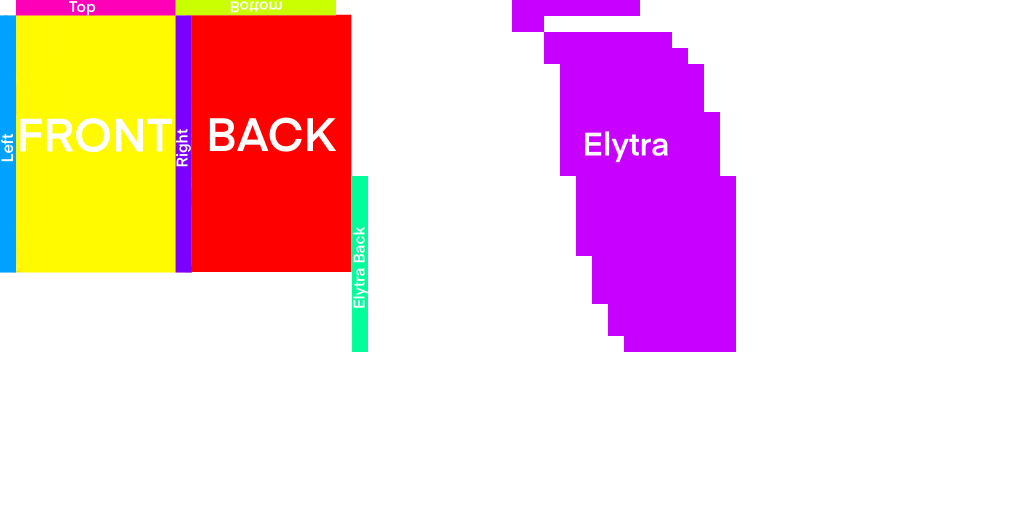
You can also paint every pixel. Files drawn on the cape template are recognised and uploaded unchanged.
Web editor
Paint on the template in your browser, then choose “Use this cape” to publish it.
Open editor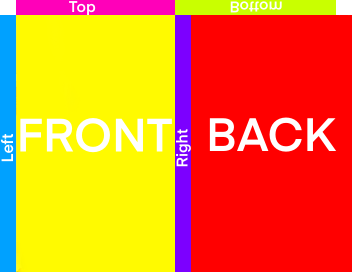
Important
- PNG, JPG, GIF, APNG or WebP up to 32 MiB.
- You can use transparency for cool effects, but do not make the cape invisible.
- Follow our Rules.